Embeddable Chat
Integrate the secure chat widget into your website using JWE (JSON Web Encryption) for communication between your website and the chatbot service.
This guide walks you through integrating the chat widget into your website, including security setup and implementation details. The widget uses JWE (JSON Web Encryption) for secure communication between your website and the chatbot service.
Integration Steps Overview
- Generate Keys — Create RSA key pairs for secure communication
- Configure Workspace — Set up key pairs in your workspace settings
- Token Generation — Implement JWT signing and JWE encryption
- Widget Integration — Add the chat widget to your website
1. Generate Keys
For secure communication, you'll need to generate RSA key pairs. These keys ensure that all data exchanged between your website and the chatbot remains private and tamper-proof.
Signing keys
Generate and extract a 2048-bit RSA key pair. This key pair is used for signing JWTs and verifying signatures:
# Generate an RSA private key in a file named signing_private_key.pem
$ openssl genrsa -out signing_private_key.pem 2048

# Extract the public key to a file named signing_public_key.pem
$ openssl rsa -in signing_private_key.pem -outform PEM -pubout -out signing_public_key.pem- Private Key: Keep secure, used to sign JWT tokens with your identity
- Public Key: Share with chatbot service to verify that tokens came from your website
Encryption keys
Generate and extract a 2048-bit RSA key pair. This key pair is used for encrypting and decrypting tokens:
# Generate an RSA private key in a file named encryption_private_key.pem
$ openssl genrsa -out encryption_private_key.pem 2048

# Extract the public key to a file named encryption_public_key.pem
$ openssl rsa -in encryption_private_key.pem -outform PEM -pubout -out encryption_public_key.pem- Private Key: Keep secure, used to decrypt the JWE-encrypted tokens
- Public Key: Share with your website so they can encrypt tokens for secure transmission
2. Configure Workspace
After generating the keys, configure them in your workspace settings. This keeps sensitive keys secure and managed through the admin interface.
Workspace Setup
In the admin panel, navigate to your workspace settings and configure the following keys:
- Embeddable Chat Encryption Public Key — encryption public key for encrypting tokens
- Embeddable Chat Encryption Private Key — encryption private key for decrypting tokens
- Embeddable Chat Signing Public Key — Signing public key for verifying signatures
Security Note: Keep your private keys secure and never share them. The public keys should be exchanged between your website and the chatbot service.
3. Token Generation
Implement secure token generation using JWT signing and JWE encryption. Below is a Ruby example, but you can implement this in any language that supports JWT and JWE.
Technical Specification
Security Algorithms
- Signature: RS256 (asymmetric)
- Key Wrap: RSA-OAEP
- Content Encryption: A256GCM — 256-bit AES GCM for authenticated encryption
Required Claims
iat,exp— 10-minute lifetime to limit replay attacksjti— Unique per token for blacklisting/single-use
Implementation Example (Ruby)
First, install the required gem:
$ bundle add json-jwtclass ChatWidgetTokenGenerator
attr_reader :user, :access_token
def initialize(user, access_token)
@user = user
@access_token = access_token
end
def call
sign_and_encrypt_payload
end
private
def sign_and_encrypt_payload
jws = JSON::JWT.new(payload).sign(signing_private_key, :RS256)
jws.encrypt(encryption_public_key, :'RSA-OAEP', :A256GCM).to_s
end
def payload
{
user_id: user.api_id,
access_token:,
iat: Time.current.to_i,
exp: 10.minutes.from_now.to_i,
jti: SecureRandom.uuid
}
end
def signing_private_key
@signing_private_key ||= OpenSSL::PKey.read(File.read("path/to/signing_private_key.pem"))
end
def encryption_public_key
@encryption_public_key ||= OpenSSL::PKey.read(File.read("path/to/encryption_public_key.pem"))
end
end4. Widget Integration
The final step is adding the chat widget to your website. The widget script needs to be included with your generated authentication token.
Adding the Widget
Generate the token:
token = ChatWidgetTokenGenerator.new(current_user).callAdd the widget script to your website under body:
<body>
  ...
  <script
    src="https://your-app.example.com/api/v1/workspaces/<YOUR_WORKSPACE_ID>/embedded_chat.js"
    data-token="<%= token %>"
    data-locale="lv"
    data-position-bottom-px="50"
    data-position-right-px="20">
  </script>
</body>
Parameters:
data-token: The JWT token generated for the userdata-locale: The locale for the chat widget (e.g.,"lv"for Latvian). Available locales:en, lv.data-display-mode: Display mode for the chat widget. Usemodal(default) for a floating button that expands to a modal, orfullscreenfor a full viewport chat interface without the floating button.data-position-bottom-px: Distance from the bottom of the pagedata-position-right-px: Distance from the right side of the page
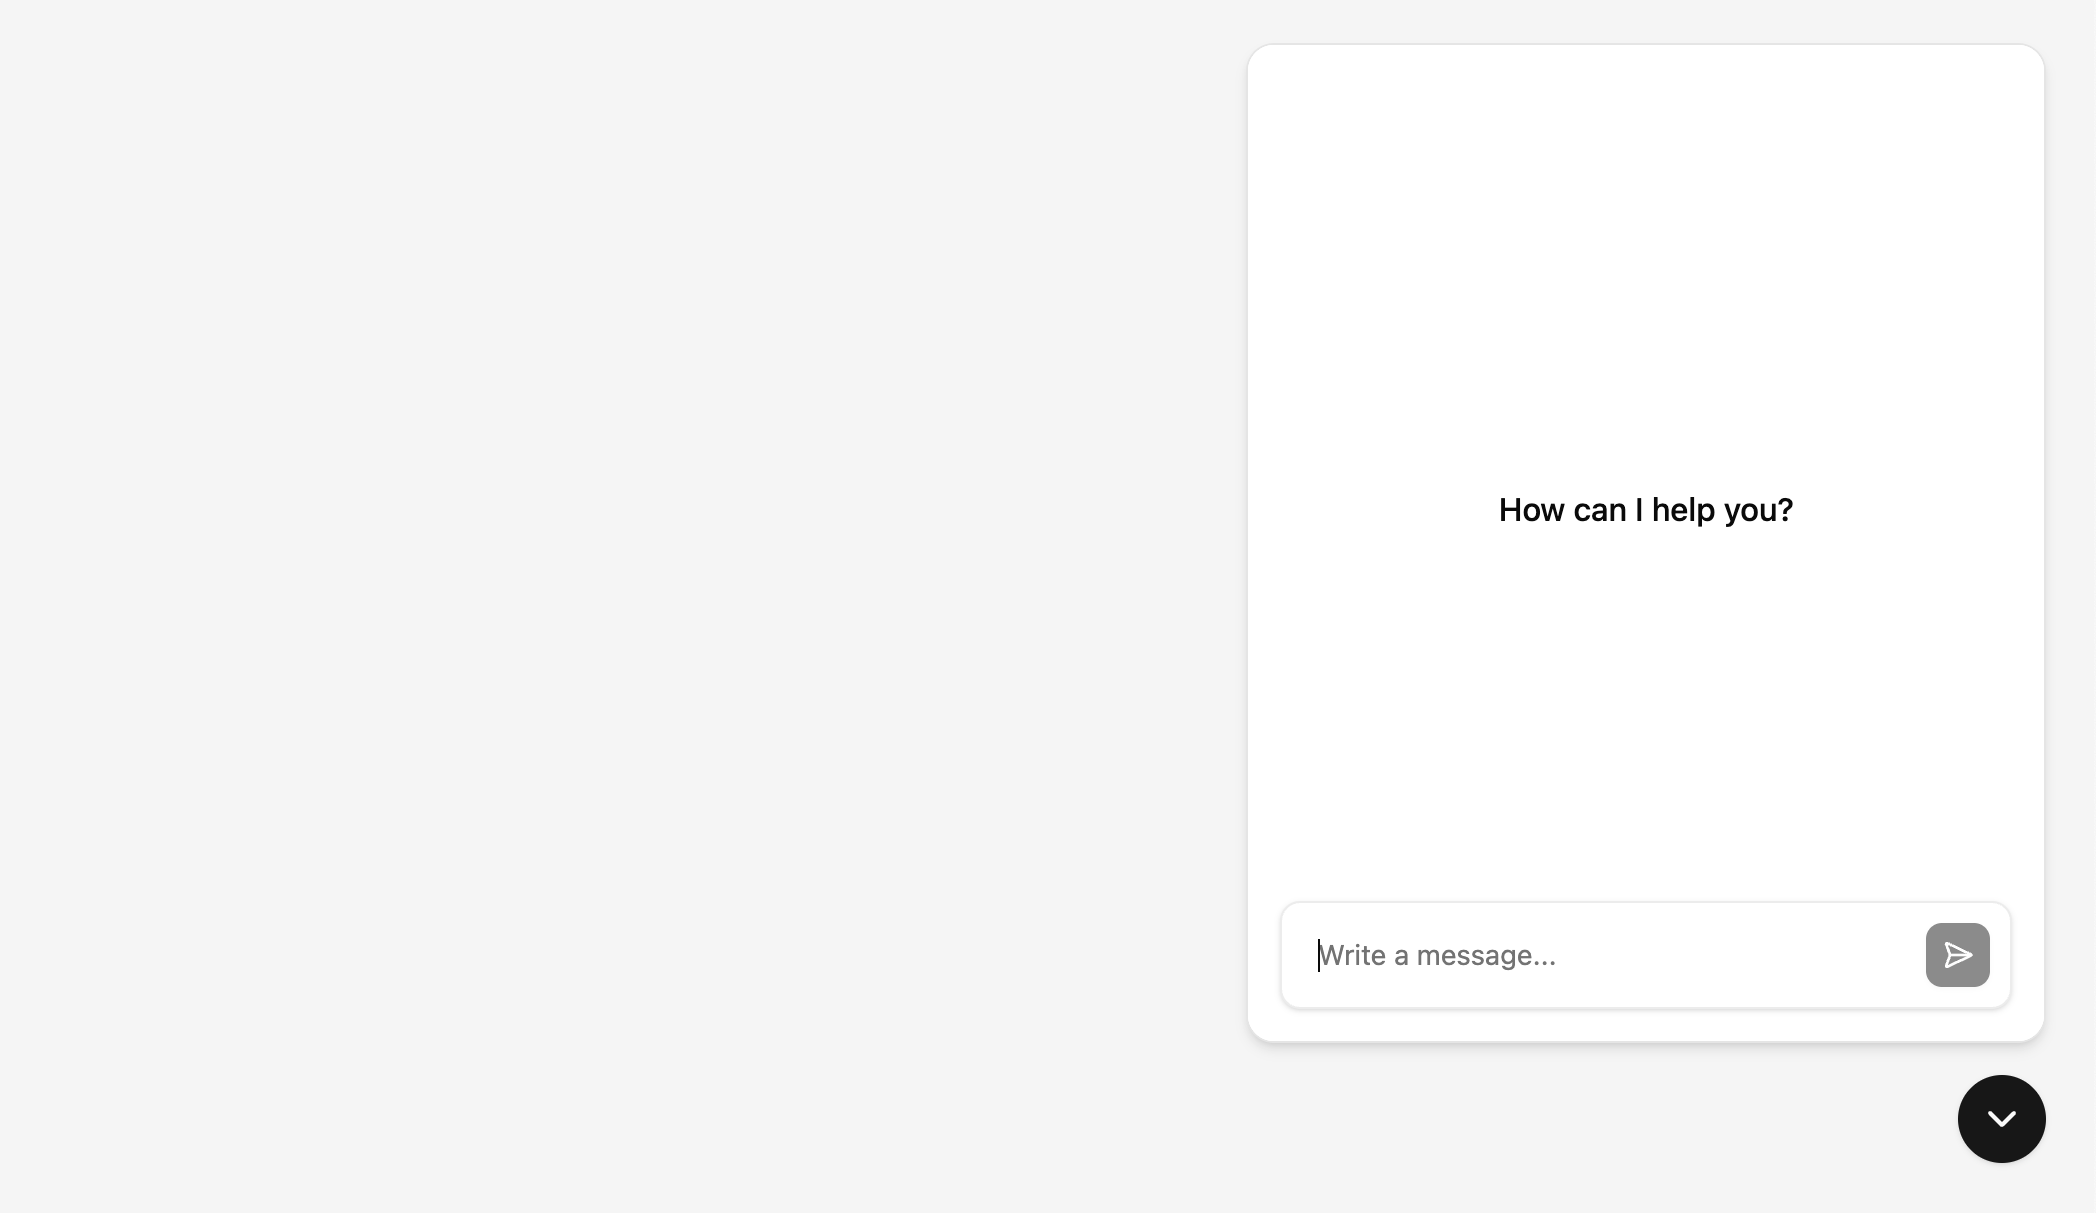
Once the script is added, a floating button will appear on your page:

Clicking it opens the chat interface:
5. Anonymous & Guest Signup
When guest signup or anonymous mode is enabled, users can access the chat widget without authentication tokens.
Overview
These modes allow visitors to your website to use the chat widget immediately, without requiring account creation or token generation. With guest signup, users will be prompted for their name, email, and consent. With anonymous mode, users can chat without providing any personal information.
Embedding Without Token
When guest signup or anonymous mode is enabled in workspace, simply omit the data-token parameter from the widget script. With guest signup, users will see a signup form when they first open the chat widget. With anonymous mode, they can start chatting immediately:
<body>
...
<script
src="https://your-app.example.com/api/v1/workspaces/<YOUR_WORKSPACE_ID>/embedded_chat.js"
data-locale="lv"
data-position-bottom-px="50"
data-position-right-px="20">
</script>
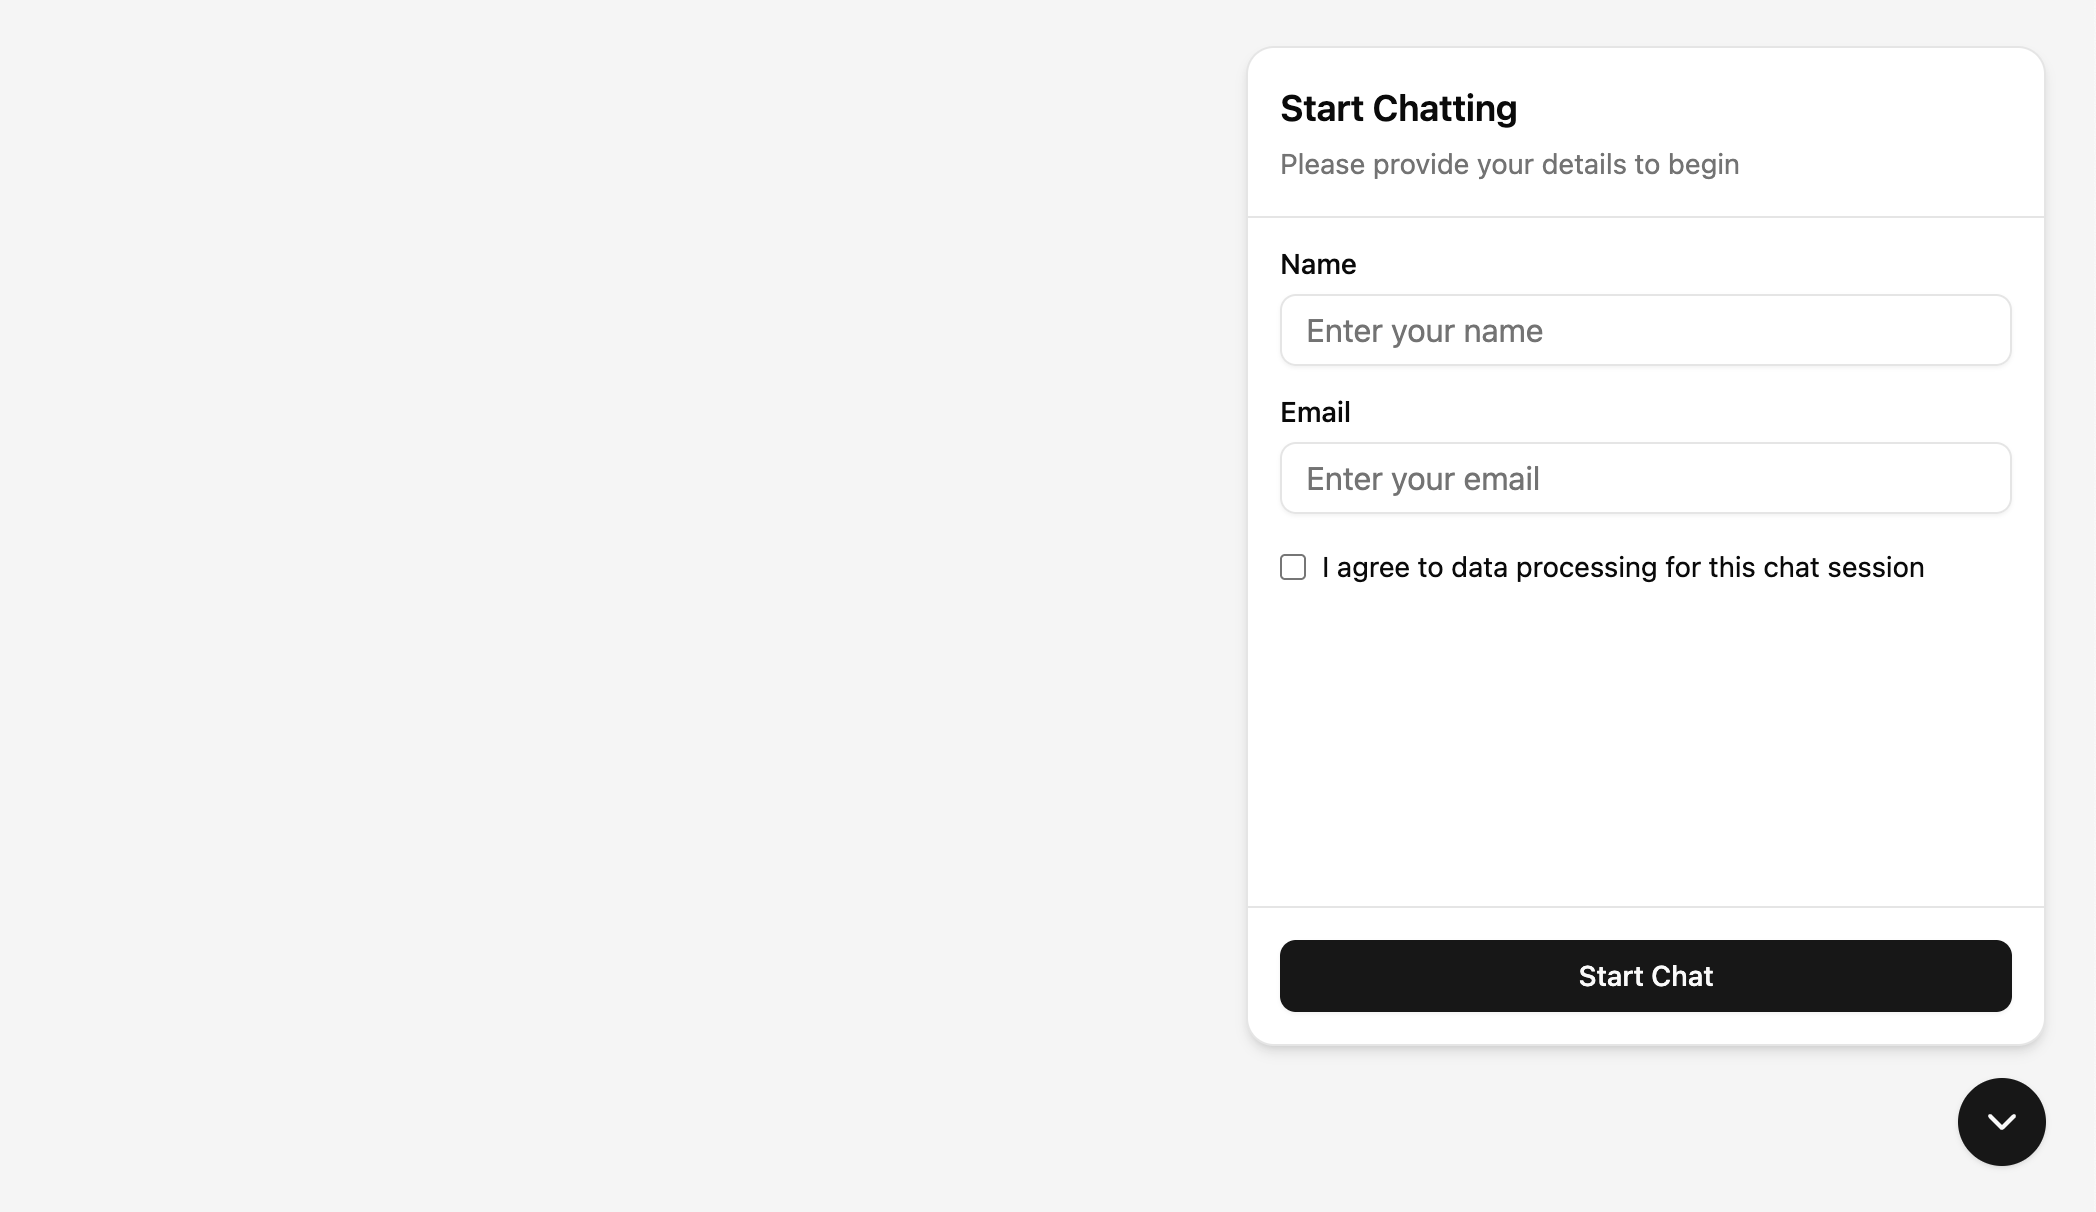
</body>With guest signup enabled, users will see a signup form when they first open the chat widget:
Privacy Policy
When guest signup is enabled, you can configure a Privacy Policy URL in the workspace embeddable chat settings. If set, the signup form displays a consent checkbox with a link to your privacy policy that users must accept before chatting. If no URL is configured, a generic consent message is shown instead.
6. Frontend Tools
Frontend tools let you register custom actions on your website that the chat assistant can invoke during a conversation. For example, the assistant can add items to a shopping cart, navigate to a page, or trigger any JavaScript logic you define.
Each tool is registered on the host page with a schema (sent to the LLM so it knows when and how to call the tool) and a callback (executed on your website when the tool is called).
Registering a Tool
Use window.MitigateEmbeddedChat.registerTool() after the widget script has loaded:
<script>
  window.MitigateEmbeddedChat.registerTool(
    {
      name: "addToCart",
      description: "Add a product to the shopping cart",
      parameters: {
        type: "object",
        properties: {
          sku: { type: "string", description: "Product SKU" },
          quantity: { type: "integer", minimum: 1, description: "Quantity" }
        },
        required: ["sku", "quantity"]
      }
    },
    async function(args) {
      // Your logic here — runs on the host page
      await yourCartAPI.addItem(args.sku, args.quantity);
      return { added: true, sku: args.sku, quantity: args.quantity };
    }
  );
</script>
The callback receives the arguments from the LLM and should return a result object. The result is sent back to the assistant so it can confirm the action to the user.
Note: Tools run entirely on the host page, not inside the chat widget. You can register tools at any time — the widget picks them up automatically.
For a complete working example with product cards, cart management, and multiple tools, see the TechStore showcase.