TechStore - E-commerce Demo
A mock e-commerce store showcasing the embedded chat widget with frontend tool integration. Browse products, ask the chat assistant for recommendations, and add items to your cart using AI-powered tools.
TechStore
Welcome to the TechStore demo. This mock store showcases how the embedded chat widget integrates with e-commerce functionality using frontend tools.
Try asking the chat assistant:
- "What products do you have?"
- "I need wireless headphones"
- "Add the USB-C Hub to my cart"
- "Show me my cart"
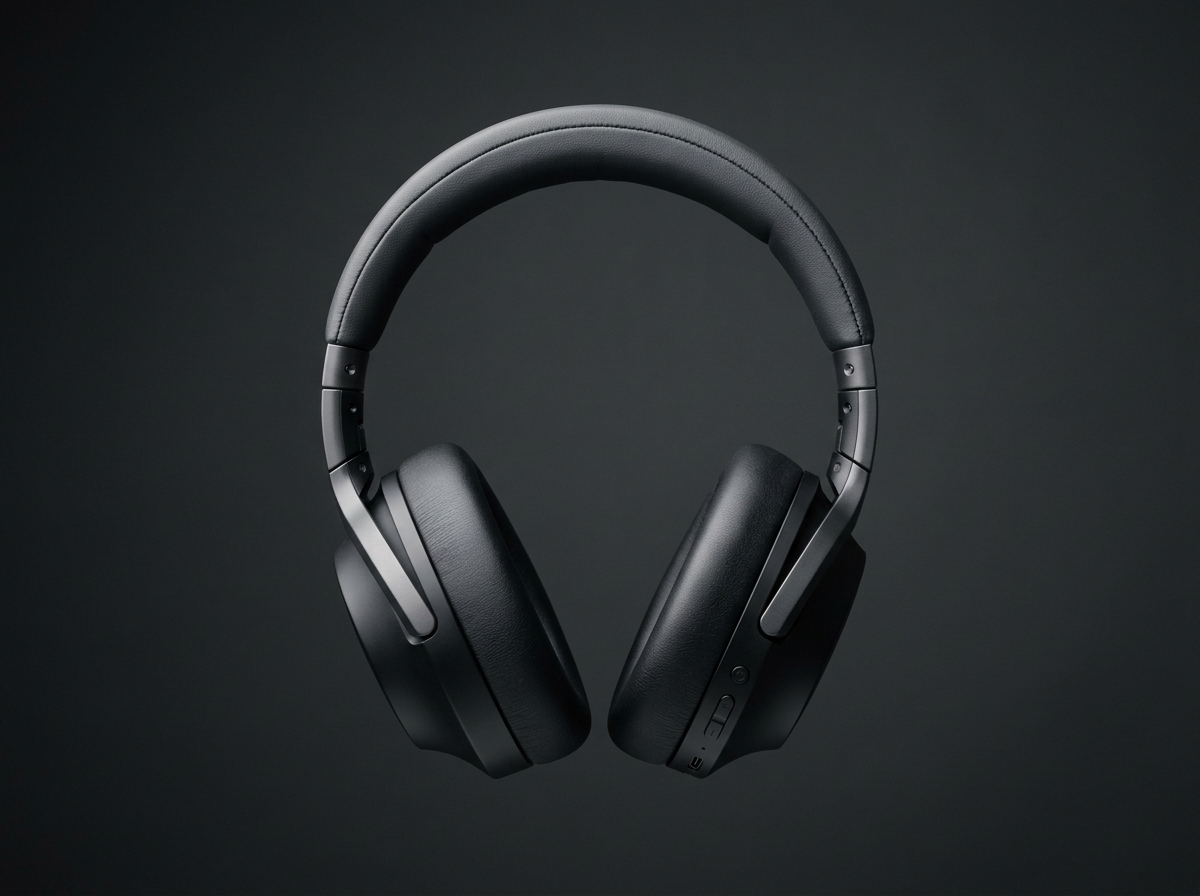
Wireless Headphones
Premium over-ear wireless headphones with active noise cancellation and 30-hour battery life.
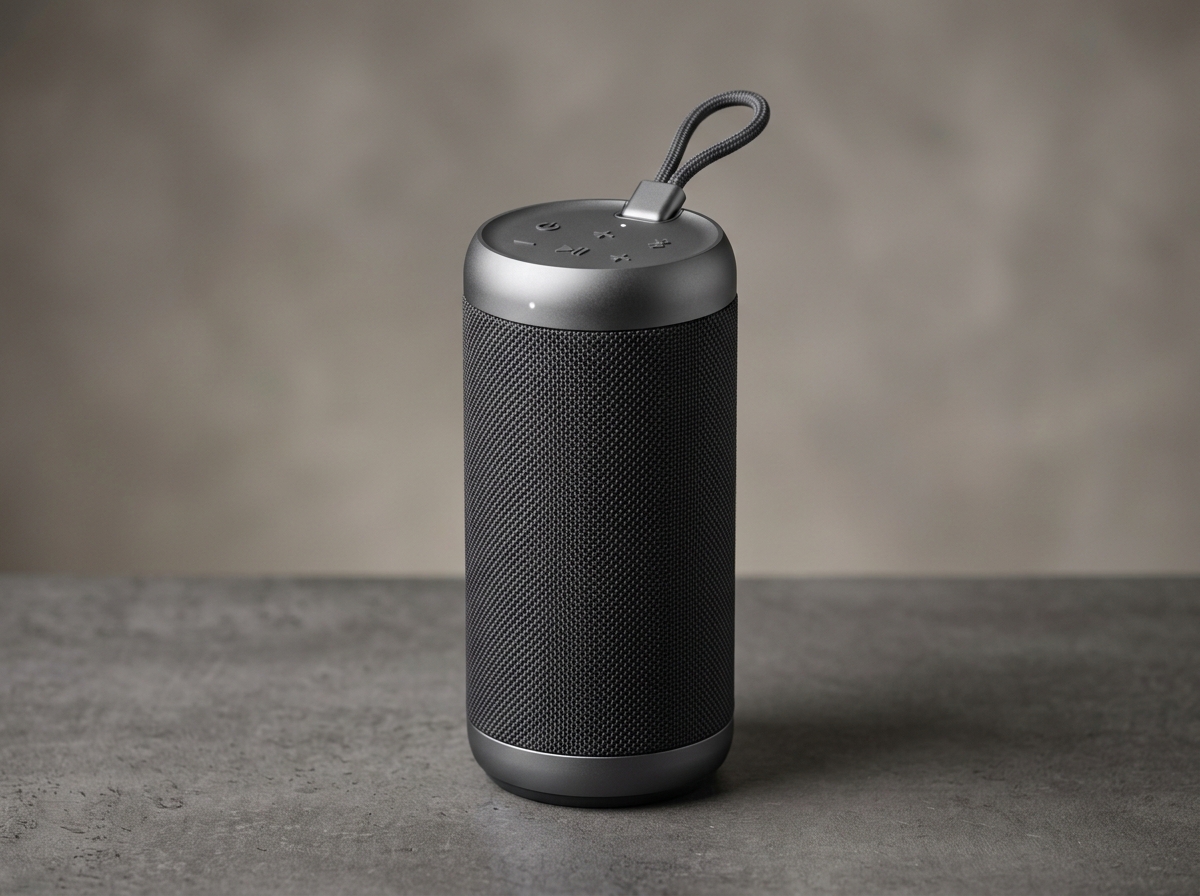
Bluetooth Speaker
Portable waterproof Bluetooth speaker with 360-degree sound and 12-hour playtime.
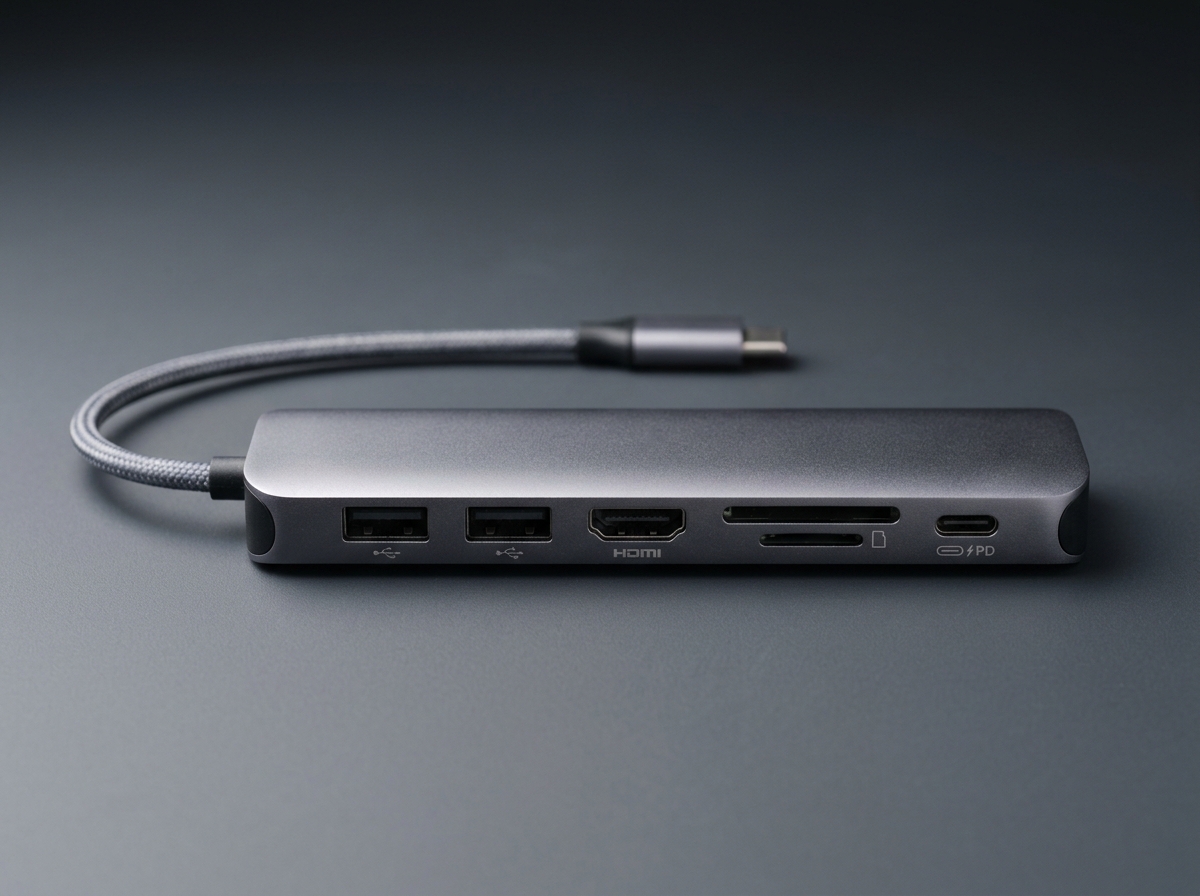
USB-C Hub
7-in-1 USB-C hub with HDMI, USB-A, SD card reader, and 100W power delivery.
Integration Guide
This section explains how to replicate this e-commerce chat integration on your own website.
Prerequisites
- A Mitigate workspace with the embeddable chat widget configured
- Product pages or a catalog on your website that can be indexed by the document scraper
Step 1: Enable OpenUI Output Format
The chat assistant uses OpenUI to render rich product cards, carousels, and interactive forms directly in the chat. To enable this:
- Go to Admin > Workspaces and select your workspace
- Set Output Format to OpenUI
OpenUI allows the LLM to generate interactive UI components like product cards with images, quantity inputs, and action buttons — all rendered natively in the chat widget.
For product images to render inside the chat widget, the embedded chat must know your website's origin. This happens automatically via the host_origin parameter when loading the widget script. The chat widget's Content Security Policy is configured to allow images from the host origin, so product images using relative URLs (e.g., /images/product.png) will be resolved and displayed correctly. If your images are hosted on a different domain (e.g., a CDN), they must be served with appropriate CORS headers.
Step 2: Index Your Product Catalog
The chat assistant finds products by searching a vector database populated by the document scraper. To make your products discoverable:
- Go to Admin > Document Sources and add your website URL
- The scraper will crawl your product pages and index their content
- Each product page should include key details in the page content: product name, SKU, price, description, and image URL
Ensure product details are in the page text (not just images or JavaScript). The scraper extracts text content for vectorization. Structured formats like tables work well.
Step 3: Configure the Workspace System Prompt
Add instructions to your workspace's Custom System Prompt so the LLM knows how to display products and handle cart actions. Example:
When showing products, use OpenUI with this structure:
- Carousel for multiple products, single Card for one product
- Each product: CardHeader(name, description), Image(name, exact URL from knowledge base),
  Form with quantity Input (type: "number", min: 1) and "Add to Cart" Button
- Add to Cart button action: { type: "continue_conversation",
  context: "Add [product name] (SKU: [sku]) to cart" }
- After adding to cart, include a success Callout and a "View Cart" Button
- Use exact image URLs from the knowledge base. Do not guess image URLs.
Step 4: Register Frontend Tools
Frontend tools allow the chat assistant to trigger actions on your website — like adding items to a cart or navigating to a page. Tools are registered on the host page using window.MitigateEmbeddedChat.registerTool().
Each tool has two parts:
- A schema describing the tool's name, description, and parameters (sent to the LLM)
- A callback function that executes on your website when the LLM calls the tool
Add to Cart Tool
<script>
  window.MitigateEmbeddedChat.registerTool(
    {
      name: "addToCart",
      description: "Add a product to the shopping cart",
      parameters: {
        type: "object",
        properties: {
          sku: { type: "string", description: "Product SKU" },
          name: { type: "string", description: "Product name" },
          price: { type: "number", description: "Product price" },
          quantity: { type: "integer", minimum: 1, description: "Quantity" }
        },
        required: ["sku", "quantity"]
      }
    },
    async function(args) {
      // Your cart logic here
      await yourCartAPI.addItem(args.sku, args.quantity);
      return { added: true, sku: args.sku, quantity: args.quantity };
    }
  );
</script>
Navigate to Cart Tool
<script>
  window.MitigateEmbeddedChat.registerTool(
    {
      name: "navigateToCart",
      description: "Navigate to the shopping cart page",
      parameters: {
        type: "object",
        properties: {},
        required: []
      }
    },
    async function() {
      window.location.href = "/cart";
      return { navigated: true };
    }
  );
</script>
Tools are registered on the host page, not inside the chat widget. The registerTool call must run after the embedded chat script has loaded. Tools can be registered at any time — the widget will pick them up automatically.
How It Works
The complete flow when a user interacts with the chat:
- User asks about a product → LLM searches the vector database
- LLM responds with OpenUI product cards (images, descriptions, quantity inputs)
- User requests to add an item → LLM calls the registered
addToCarttool - Host page executes the callback (adds to cart, shows confirmation)
- Result returns to the LLM → assistant confirms the action to the user